.JPG)

"Your source for standard gauge modeling in 1:20.3"
|
|
|
"Your source for standard gauge modeling in 1:20.3" |
|
|
Learning to Build in Brass--A Retrospective of
Sorts
|
|
How does one become a garage manufacturer and custom builder of brass large scale locomotives and freight cars? How does one become a scratch-builder for that matter? The narrative below is in part my attempt to answer that question, beginning with my love of die cast kits when I was in high school thru what has become now my ultimate desire: to offer brass locomotive kits in large scale along the lines of the golden age of O scale in the 1940s and 50s. Well, one can always dream, but in all truthfulness, this goal is not too far off! I do have a life outside of
trains--that of minister, husband to a wonderful wife and father to four
equally wonderful children--and so these are the better loves of my
life, which, along with my customer's projects, necessarily come first;
and thusly, many of my own projects advance at a snail's pace.
Nevertheless, much progress has been made over the past 13 or so years,
and the growing sophistication of my modeling is a direct result of the
growing sophistication of the tools and techniques I have been able to
acquire. You can read more about the former on my
workshop page.
Here, however, I merely detail moving from assembling pot metal kits to
being on the threshold of making brass ones. |
|
|
My first train was either a battery powered affair running about a loop of plastic track or an equally toyish wind-up, but at the age of five my grandmother gave me my first real train set: A Fundemensions era Lionel 2-4-2 with The Mighty Sound of Steam emblazoned across the box. I think Dad played with it for the first couple of weeks before allowing me to take the throttle, permanently. At age seven I was given my first HO scale locomotive: An Athearn gear-driven F7 (God bless Uncle Irv and his $3 freight car kits!). By middle school I was putting together Mantua die-cast locomotives, and by high school I was kitbashing these (right) as well as Bowser kits. I also recall reading the late Gordon Odegard's fine series of articles on scratchbuilding "A USRA Mikado in Brass" in the October 1982-November 1983 issues of Model Railroader magazine. I found them again during seminary, re-read them, and was re-inspired. By this time, I had already gotten hooked on the concept of large scale trains, having seen the early Aristo-Craft products, then known as REA, at a 1989 NRHS convention in Asheville, North Carolina. But Mr. Odegard's articles, coupled with visits to local kitbasher extraordinaire, Buddy Rickard, and exposure to the early scratchbuilding work of my friend Barry Bogs in the now defunct LGB Telegraph, collectively pushed me over the edge from spectator to active participant. I wanted to build large scale locomotives, I wanted to build them in brass, and I wanted to build them in standard gauge. Ultimately, this was the point at which my journey as model maker began.
In the world of large scale trains, Aster in Japan probably comes closest to what I have in mind, producing a high quality 1:32 scale, Gauge 1 product, but aimed at the high end of the market (Note the Pennsy K4s Pacific as well as French 2-8-0 kits, above right). These are great products. They are well-engineered and well made. But what about every Joe who does not have $5K-$8K to drop on a finely crafted screw-together live steamer but who is willing to put some time and sweat equity into a good looking scale model? Surely there is still a place for him, right? That's the question I have been asking myself since 2001; and in what follows below, I want to share with you, the reader, how I hope to get there. But first, let me describe where I have come from as a large scale hobbyist and amateur model maker. |
|
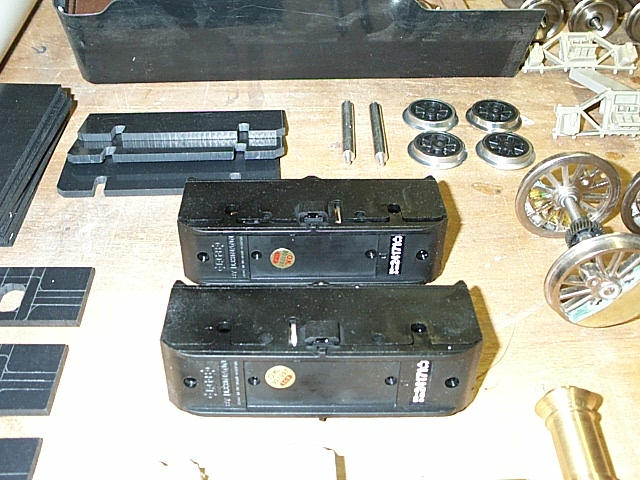
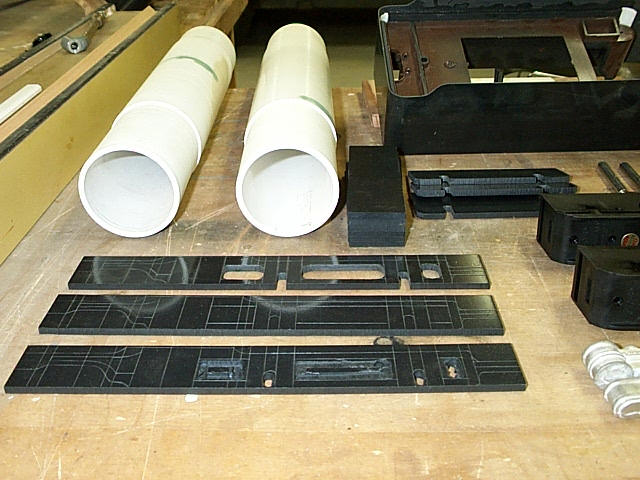
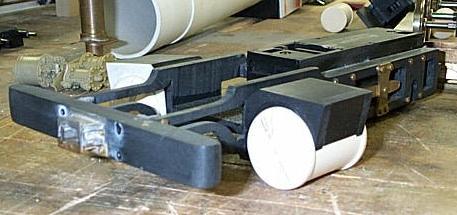
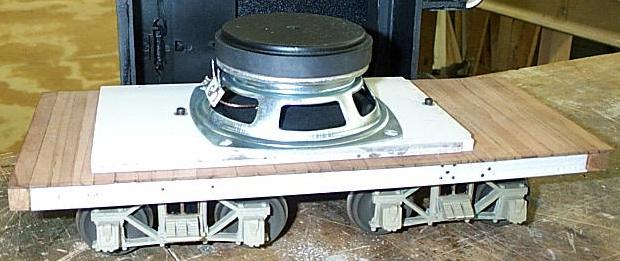
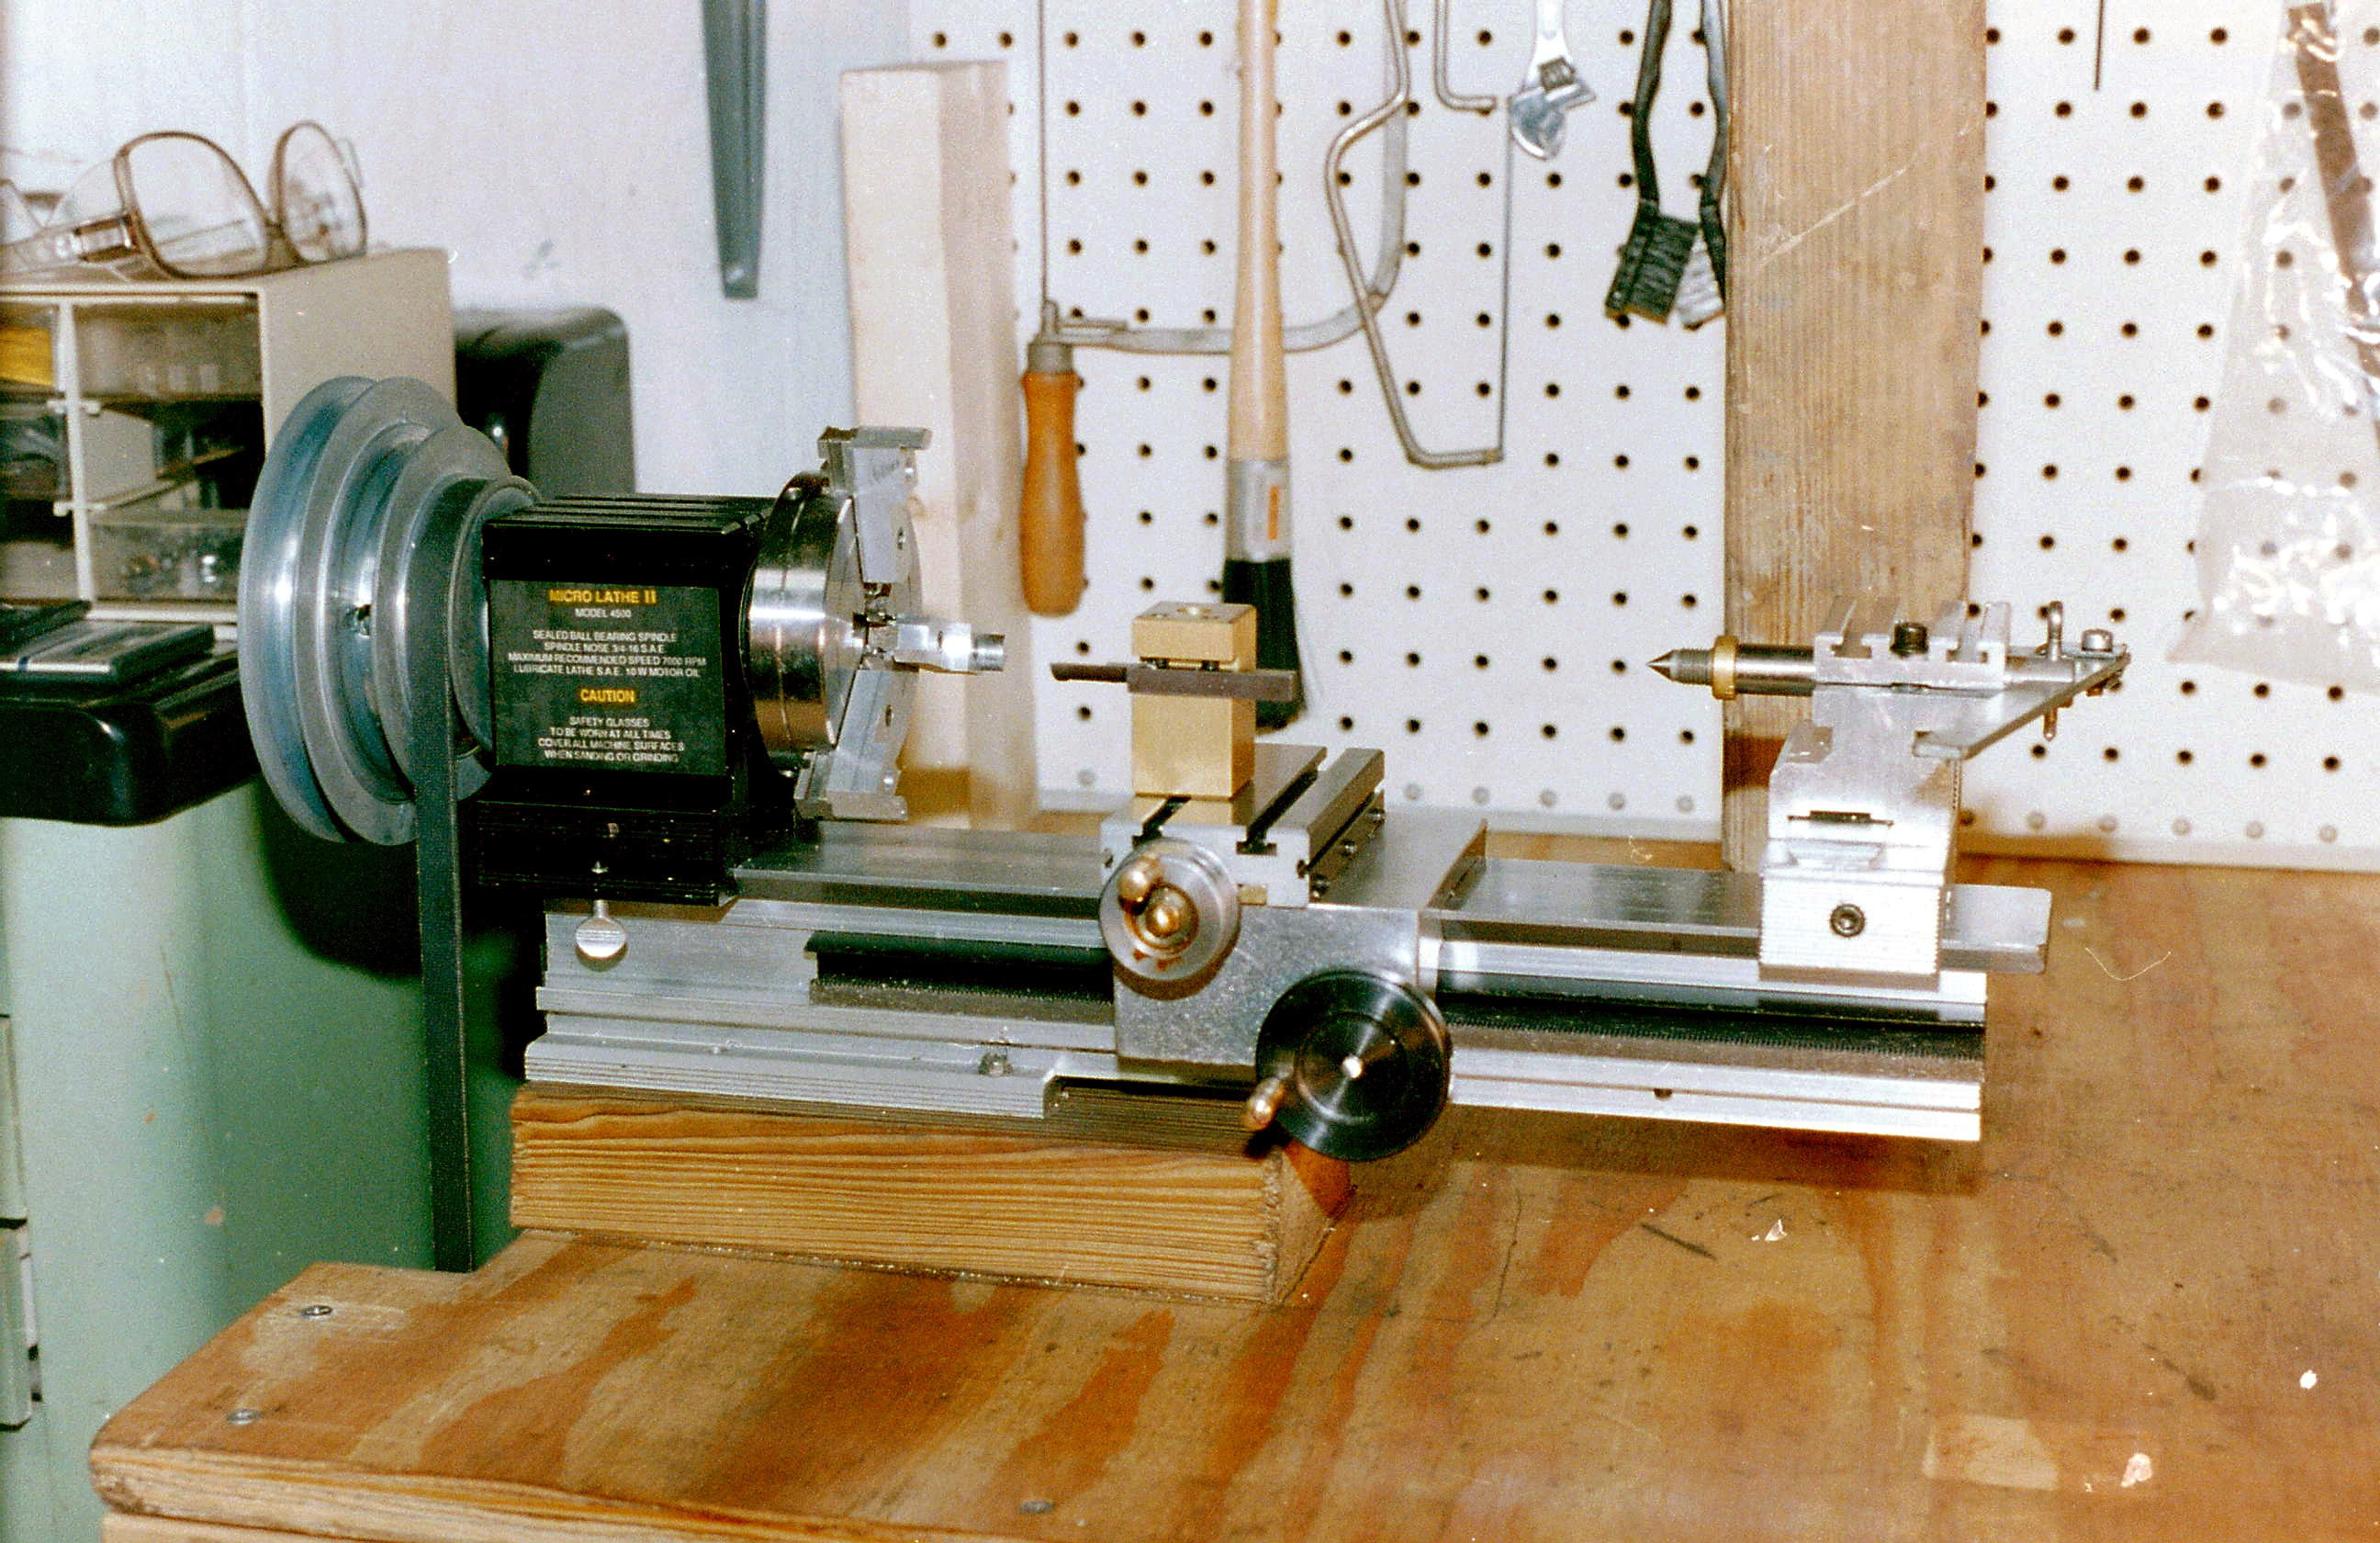
So far in the construction of my locomotives I have used a variety of techniques which have largely been a reflection of the growing sophistication of the tools in my workshop--from hand tools, to basic manual machine tools, and now to CNC (computer numerical control) ones. My skills as a model maker have correspondingly improved at the design stage as well, from initial efforts based upon enlarged photocopies of model train magazine drawings to creating my own 2D CAD drawings based upon scanned railroad blueprints and/or my own measurements of the prototype. Now (2009) I am also learning to use a 3D CAD package (BobCAD-CAM), but this level of sophistication has certainly not always characteristic of my work. The Joy of Plastic When I began building large scale locomotives around 1998, I was pretty much locked into re-gauging commercially available plastic motor blocks (such as those from LGB) with new, longer axles while gluing and screwing slabs of �" ABS plastic to their sides, rough-cut on a band saw and filed to look like a locomotive frame. My earliest work, a Gauge 3 2-4-4-2 mallet, is fairly indicative of this method, and represents what can be done in a modestly equipped home workshop. The only other power tools which were used, aside from a Dremel rotary tool, was a bench top drill press and a Taig Micro Lathe.
|
|
After whiling away more hours than I care to admit custom building Gauge 3 rolling stock, I came to realize there must be a far easier way to build locomotives and freight cars, certainly a more profitable one, than one-off plastic models. One solution, for those with access to sufficient capital, is to become an importer of brass models, a check-book-manufacturer as they are sometimes called in the hobby. Certainly that is the majority report in much of the industry today. But I did not have access to that sort of capital nor could I see an immediate market for 100 imported brass F scale USRA 2-8-2s at $10K a pop, even if I had had the cash. The only solution I could envisage was to go to technical college and learn a bit about manufacturing and the machine work which goes into it, and then slowly to work my way towards becoming a profitable garage based micro-manufacturer. And so in 2001, this hardened liberal arts guy enrolled in the Mechanical Engineering Technology (MET) program at Pellissippi State Technical Community College and began to sink his teeth into CAD (Computer Aided Design), CAM (Computer Aided Manufacturing) and basic manual machining, and it turned out to be a wonderful experience! The CAD and CAM courses brought me up to speed not only on current manufacturing technology, but also gave me access to some really cool CNC machine tools, as well as traditional manual ones--more or less for "free," thanks to the taxpayers of Tennessee. Plus, the instructors very generously let me work on my train projects during class. The end result was a leap ahead in terms of what I could fabricate in brass, steel, aluminum, and stainless. Now I could make train parts far more accurate than anything I had ever made before, with repeatability, and often in much less time as well. Frankly, I am surprised more serious hobbyists don't take greater advantage of their local community college or vocational school. They are tremendous local resources and are well worth whatever nominal fees might be required.
|
|
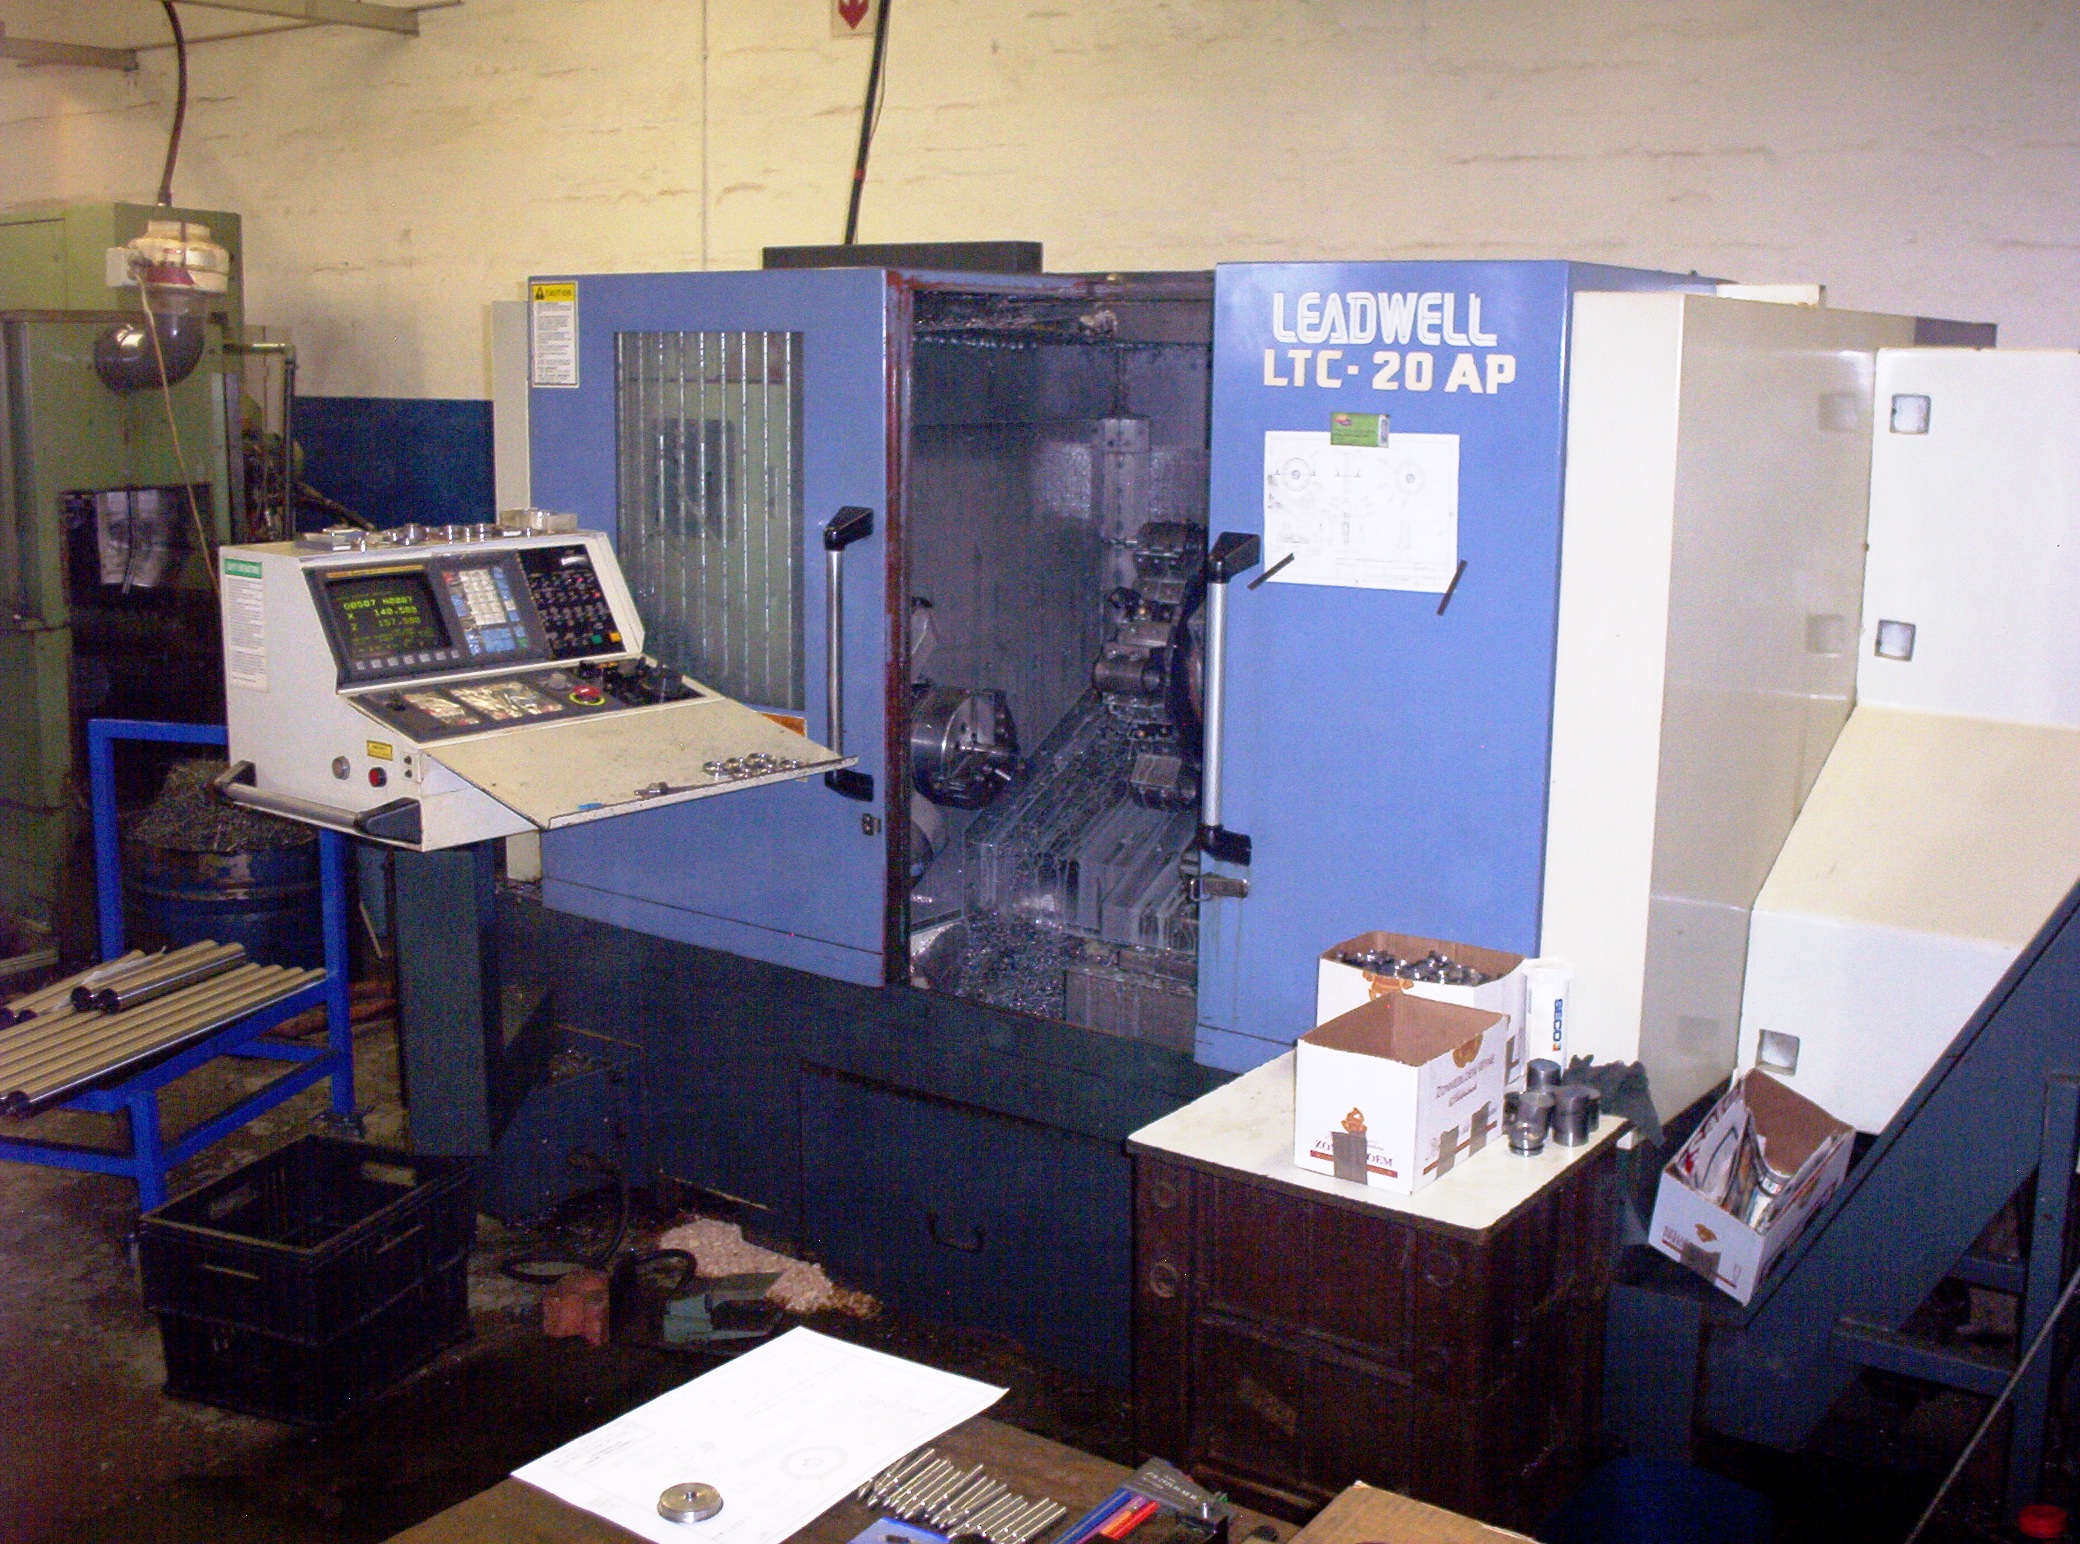
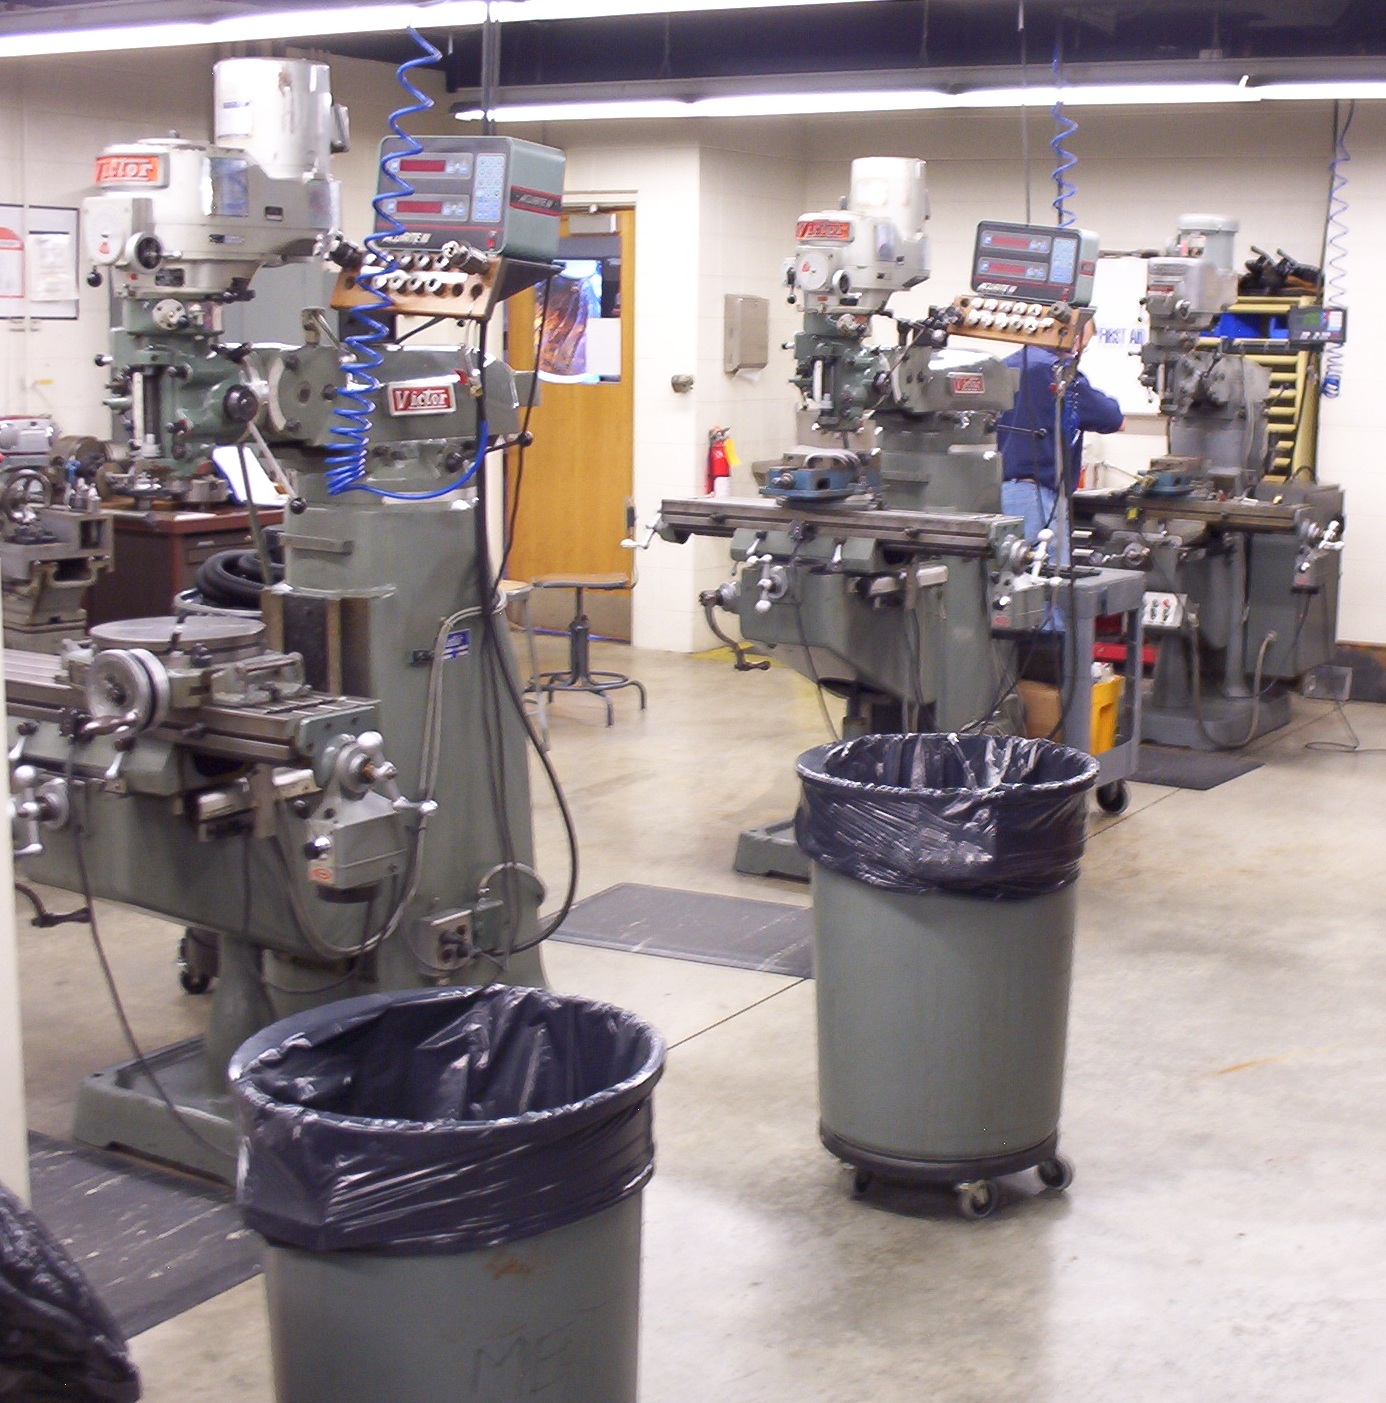
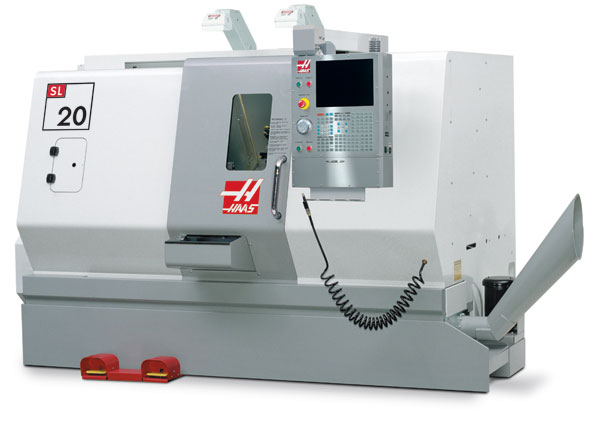
At Pellissippi State, two Haas vertical CNC mills and two of their SL-20 CNC lathes, one equipped with a bar feeder, are available for student use. In addition, at the time I was there, a mid-1980s Japax wire EDM also resided in the CNC lab (which, happily, now resides in my own shop!). In the MET program, students are first exposed to 2D AutoCAD, the industry standard, and then receive additional instruction in 3D CAD using SolidWorks. But the meat & potatoes of the MET department's instruction is in an industry standard CAD/CAM software package--FeatureCAM--which is used for generating the machine code necessary for programming a CNC mill, lathe, or wire EDM (and other numerical control machines).
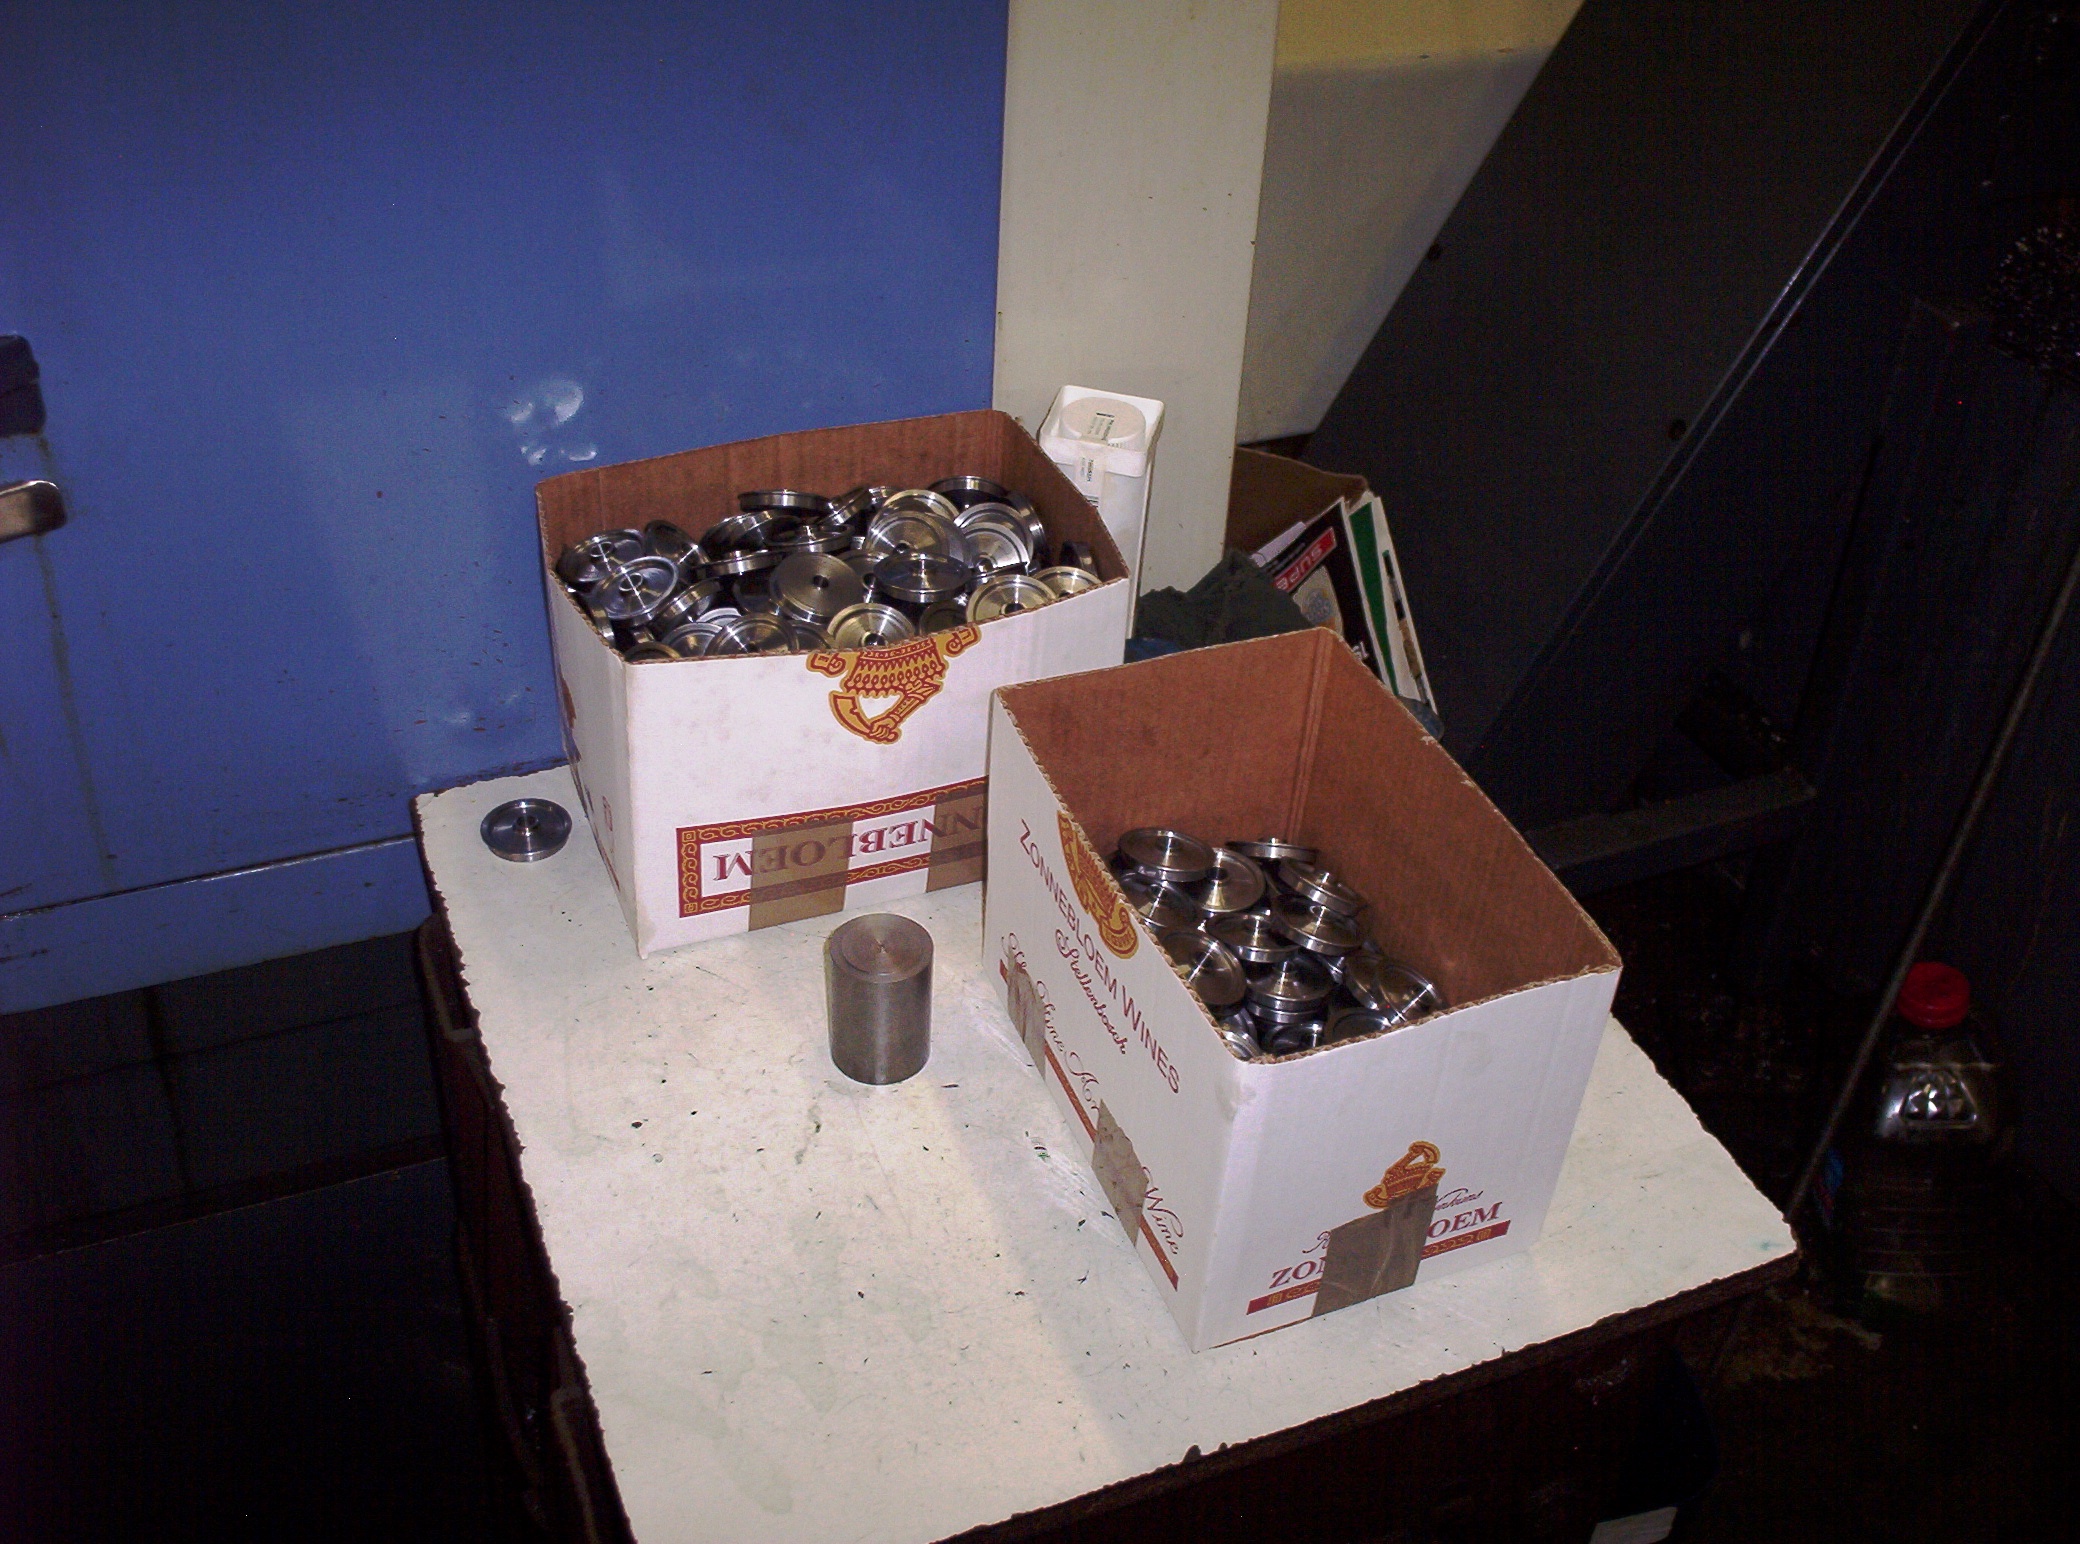
The result, after many hours of work and many broken carbide end mills, was one set of main frames, minus the front frame extensions--hardly mass production. Looking back on it, maybe the solution was to have used either brass or mild steel, added the front frame extensions after a bit of redesign, and then perhaps the production jig would not have been a total bust. Two other solutions might have been to wire EDM cut the frames (slow) or use a water-jet, but the college did not have the second of these, and I did not acquire my own wire EDM until several years late. But by that time, the semester was over, daughter #1 had arrived, and it was time to go onto another CAM course: CNC Turning! The time I spent on a Haas SL-20 CNC lathe was well spent (as was time later spent using the Haas mills, especially working with brass). There is no better tool than a CNC lathe for making shouldered axles, driver tyres, wheels, and other round objects. My best experience was turning driver tyres from seamless steel tubing: The SL-20 could whip one out about every 4-5 minutes. Of course, CAM software effectually made me, an amateur manual machinist, a competent CNC one--it was like having several journeyman experts in a box!
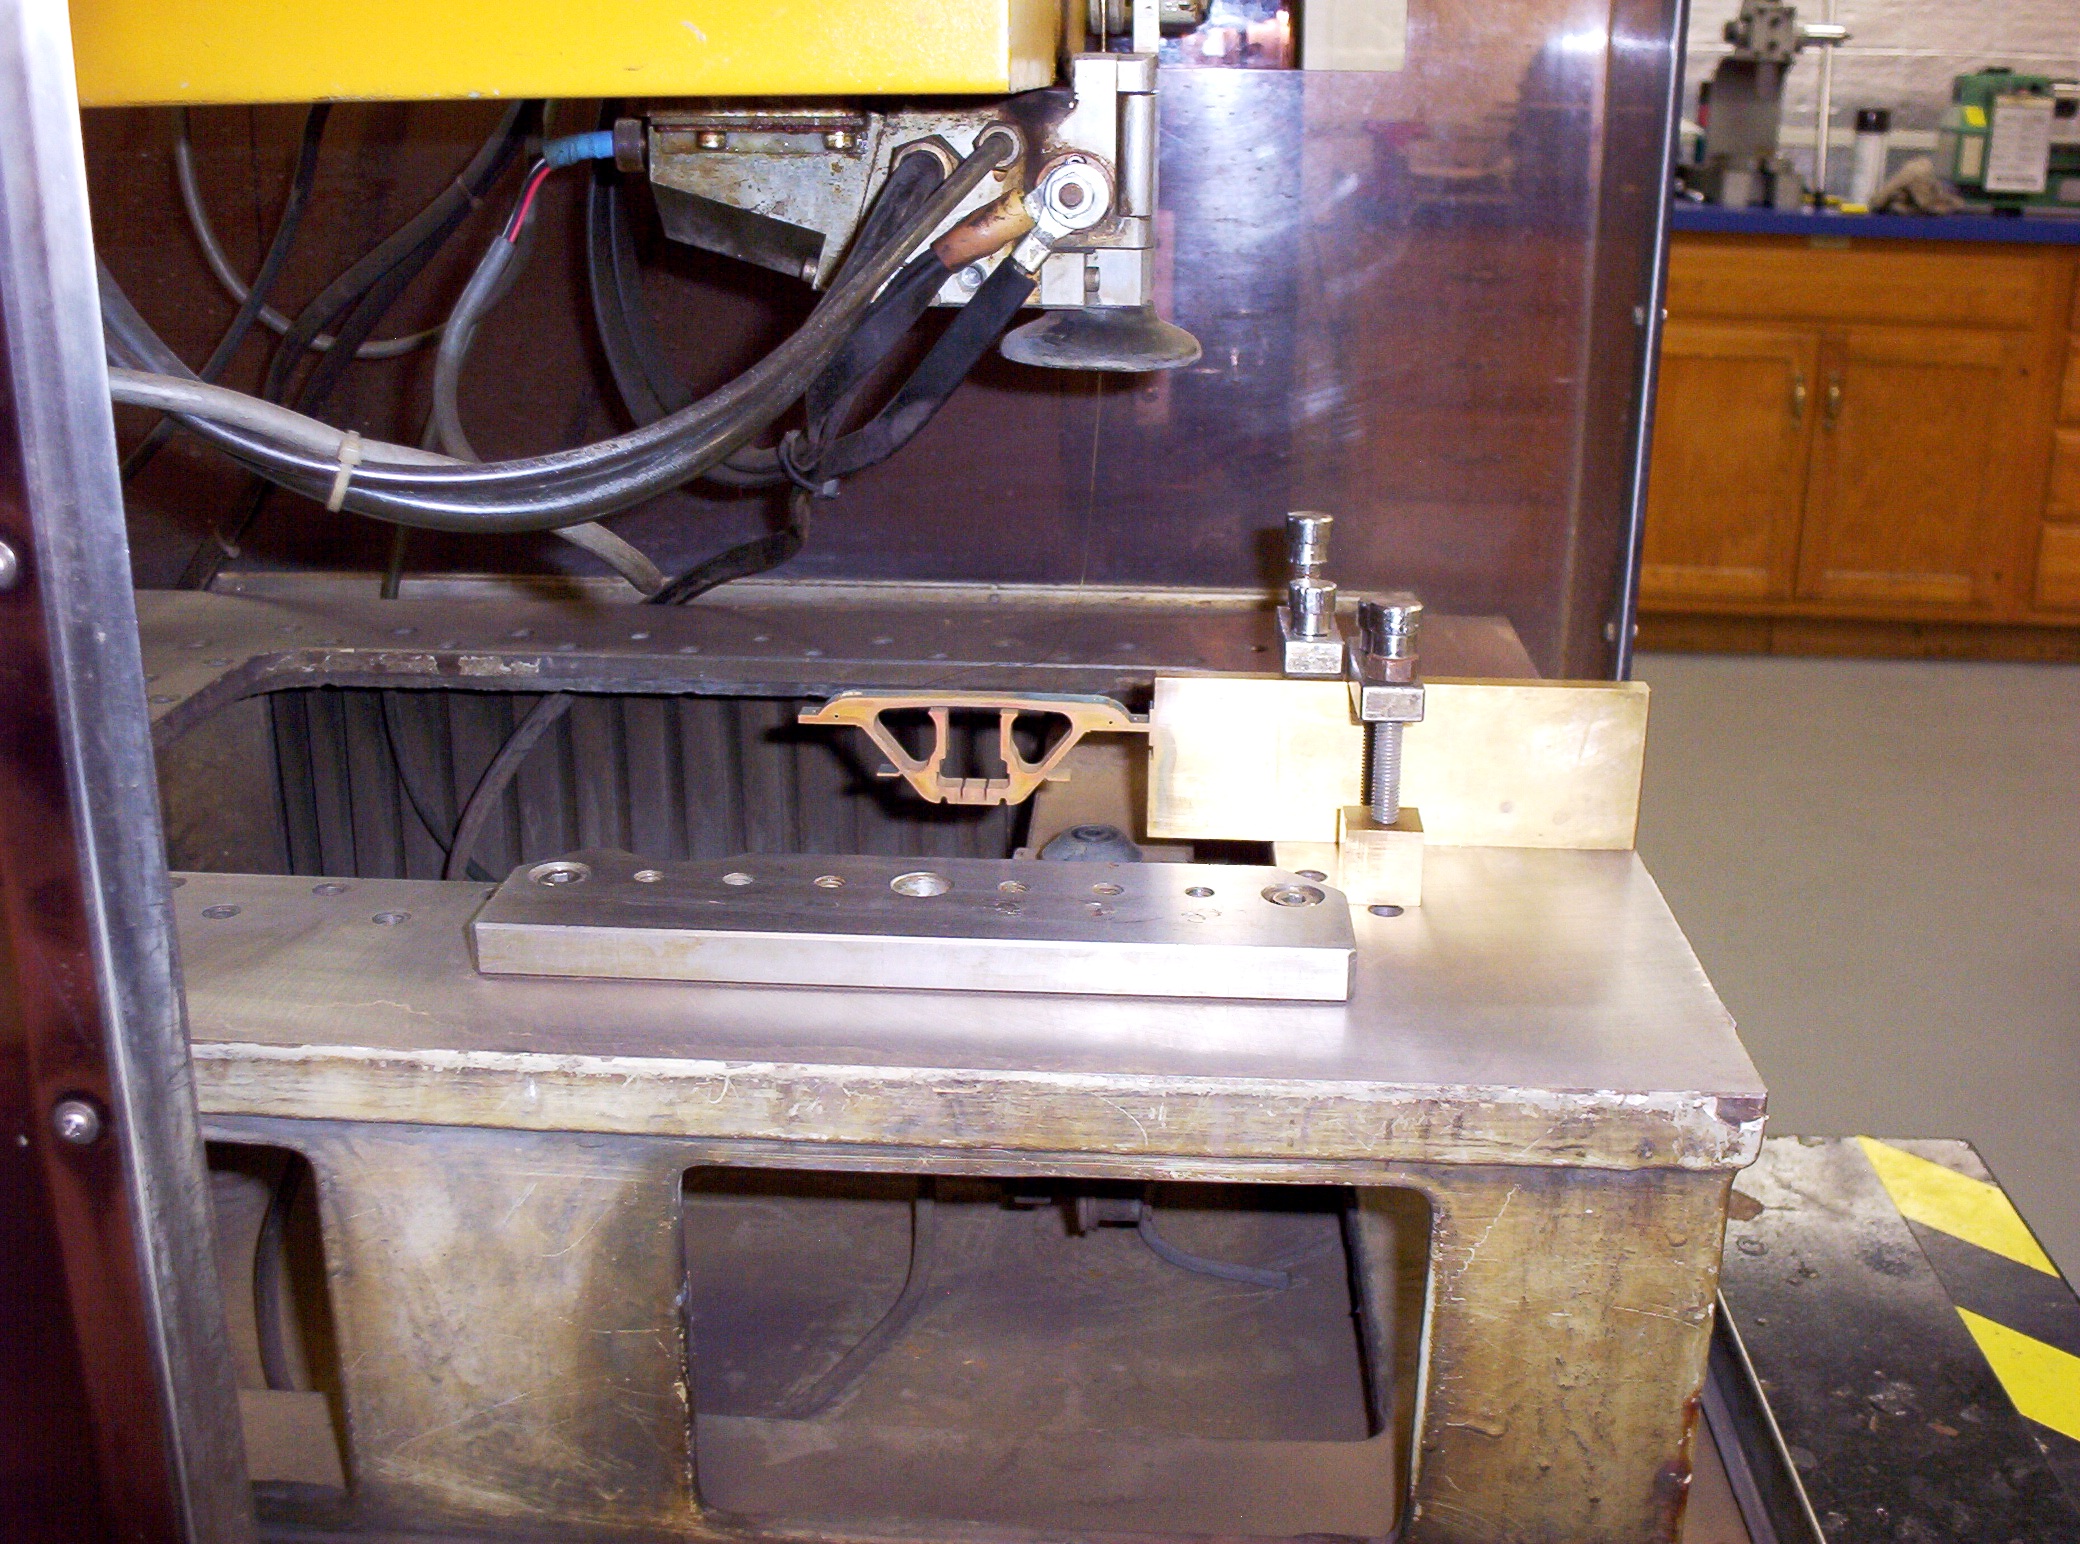
Burn, Baby, Burn!
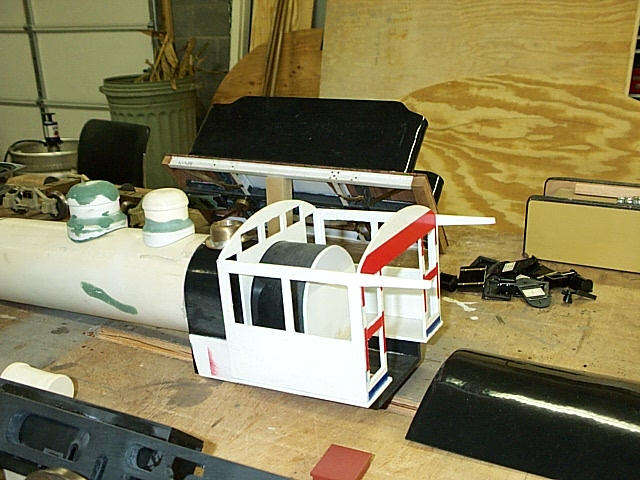
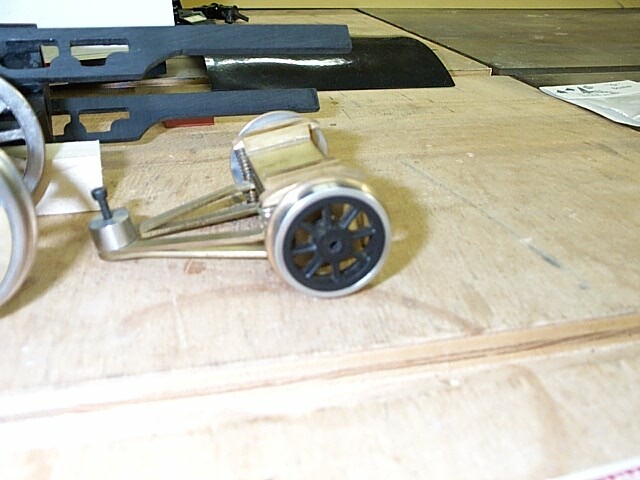
The Japax is an example of early 1980s technology, but it still runs well, and Providentially landed in my hands at auction when the technical community college dropped the EDM component out of their MET program. Since coming to my workshop, in the words of one of my Pellissippi State profs, I've become a "wire wizard. I've used it mainly for cutting bits of brass into odd shapes for various casting patterns which I then solder together. But I have also begun to use it for making production steam locomotive side & main rods as well as locomotive frames. So far I have stuck to 1/4" brass frames, and a few stainless ones (old habits are hard to kick), but I may try mild steel in the future. For now, I intend to get a few chassis built with brass frames and go from there. The examples below are bits and pieces for my USRA Andrews truck casting patterns the Little River baby 4-6-2 #110 pictured below:
"Where does he get those toys?", asked the Joker. In my case, many of my latest patterns are being made either as rapid prototypes, farmed out of my shop or course, or they are being CNC milled here in my own workshop. I've had driver centers milled for me before. My friend Randy Gordon-Gilmore, who is an N scaler and himself an accomplished home shop machinist, produced a set of stunning brass Southern Railway Ps-4 Pacific driver center casting patterns from my 2D AutoCAD drawings on his Tormac CNC mill, test cutting the drivers first in a block of plastic and then from a solid blocks of brass. |
| (to be continued) |
| Next Stop: The Little River "baby" Pacific #110 |
|
Last update: 19 December 2011
|
|
Copyright 2004-2009 CumberlandModelEngineering.com. All Rights Reserved |
.JPG)
.JPG)
.gif) The Bowser of Large Scale
The Bowser of Large Scale
.gif) One-Off Models the Hard Way
One-Off Models the Hard Way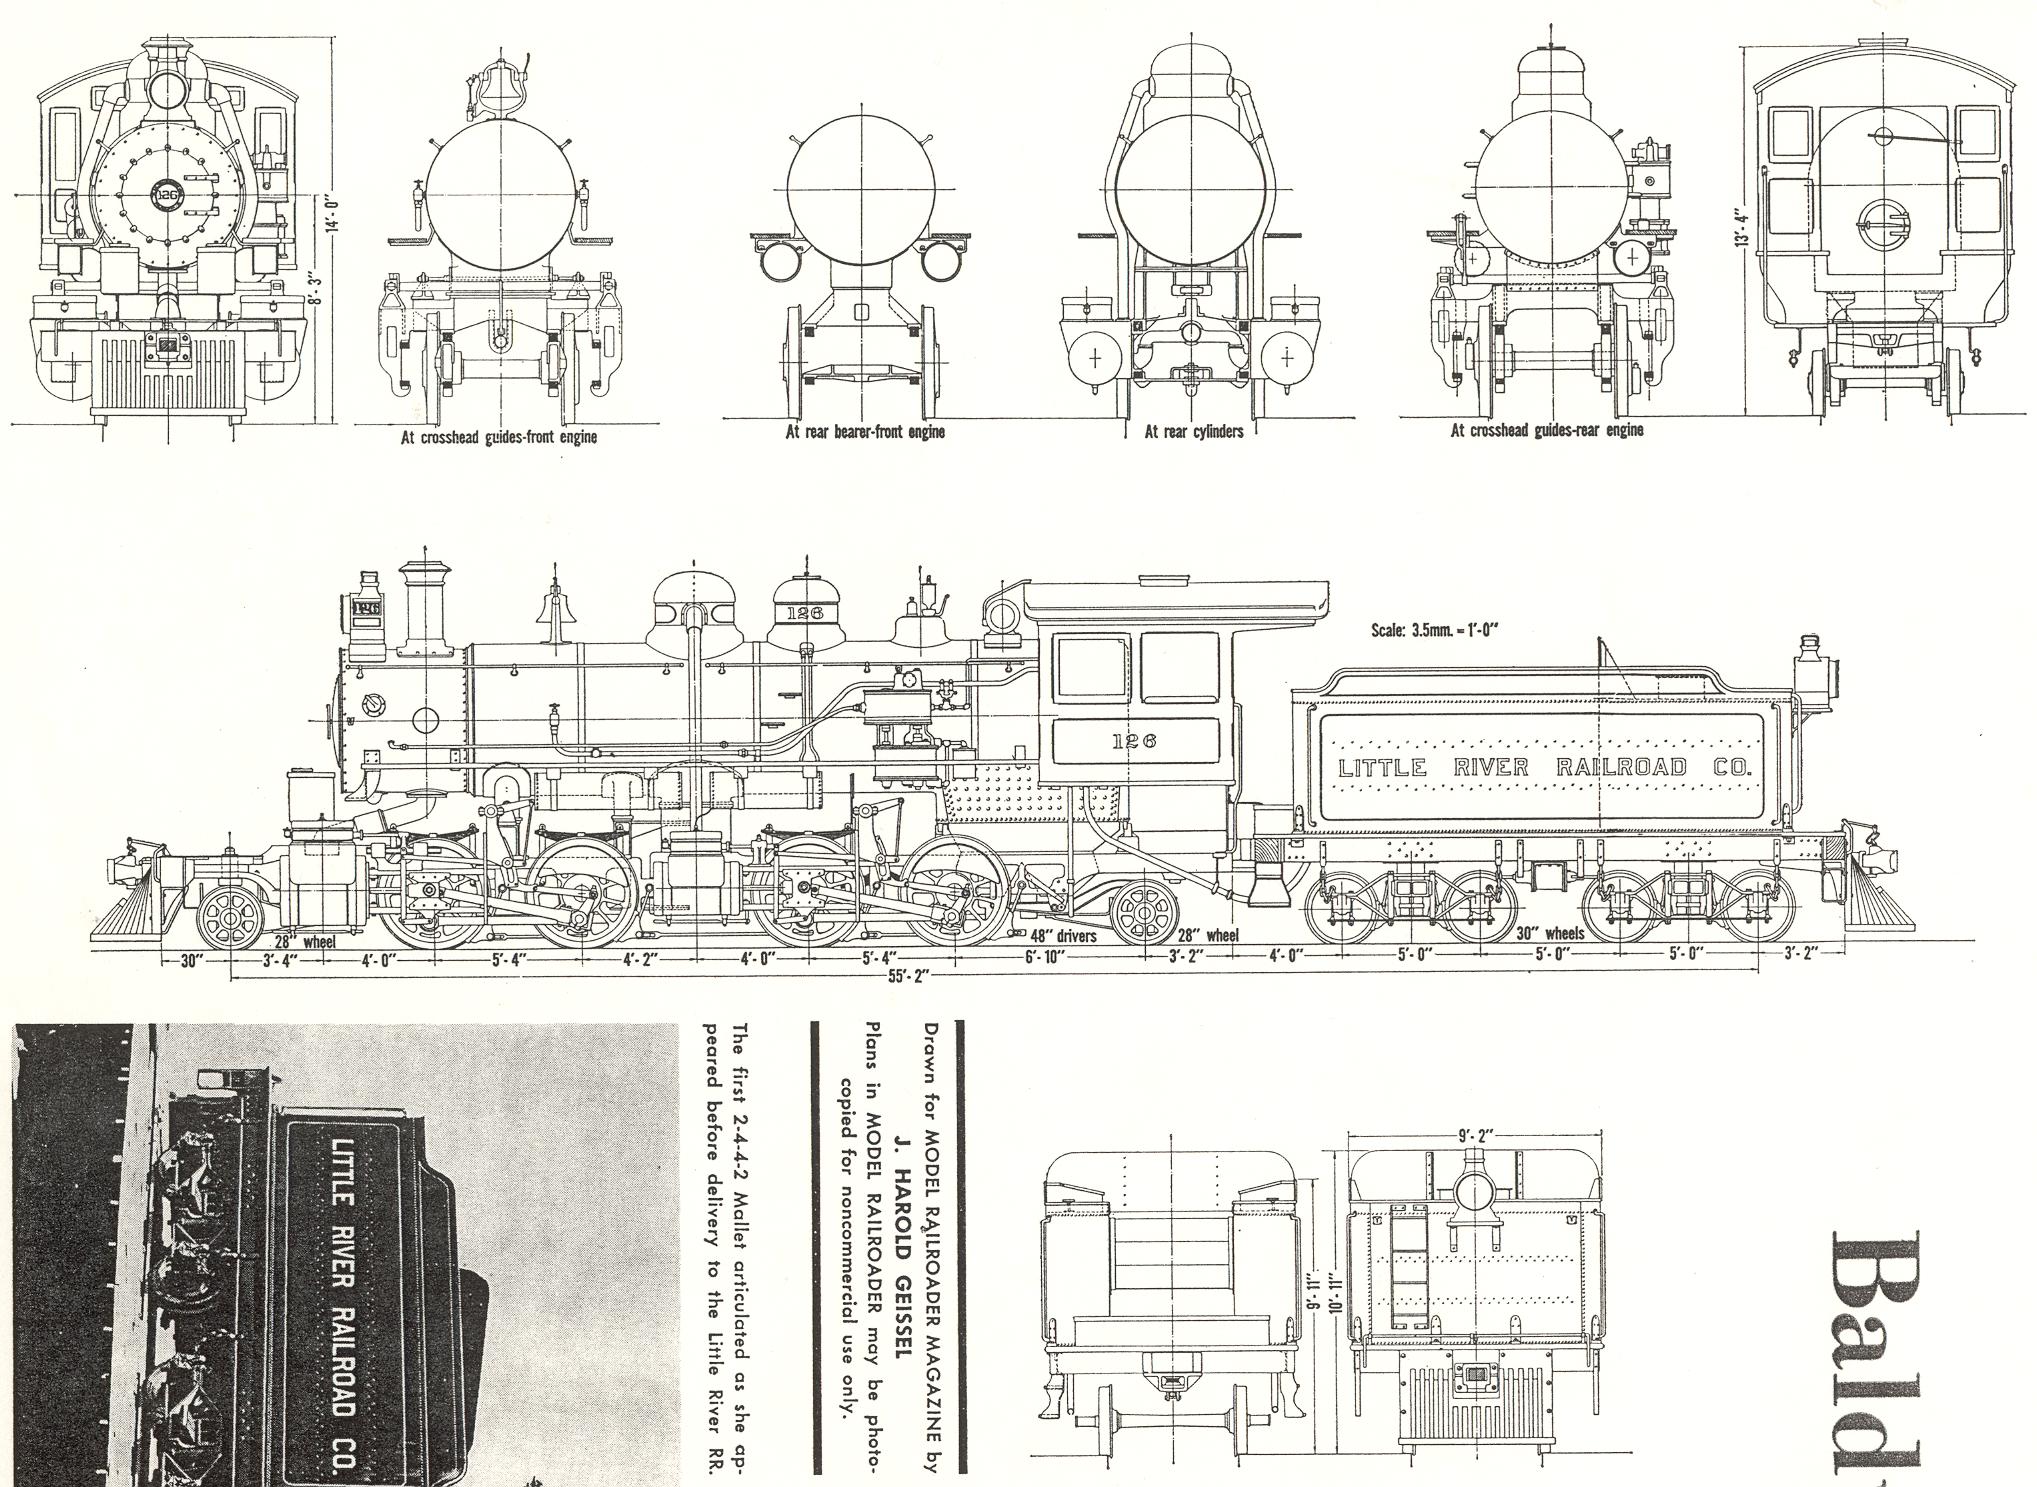
.jpg)
.jpg)
.jpg)
.JPG)
.gif)

.gif)
.JPG)
.jpg)
.gif)


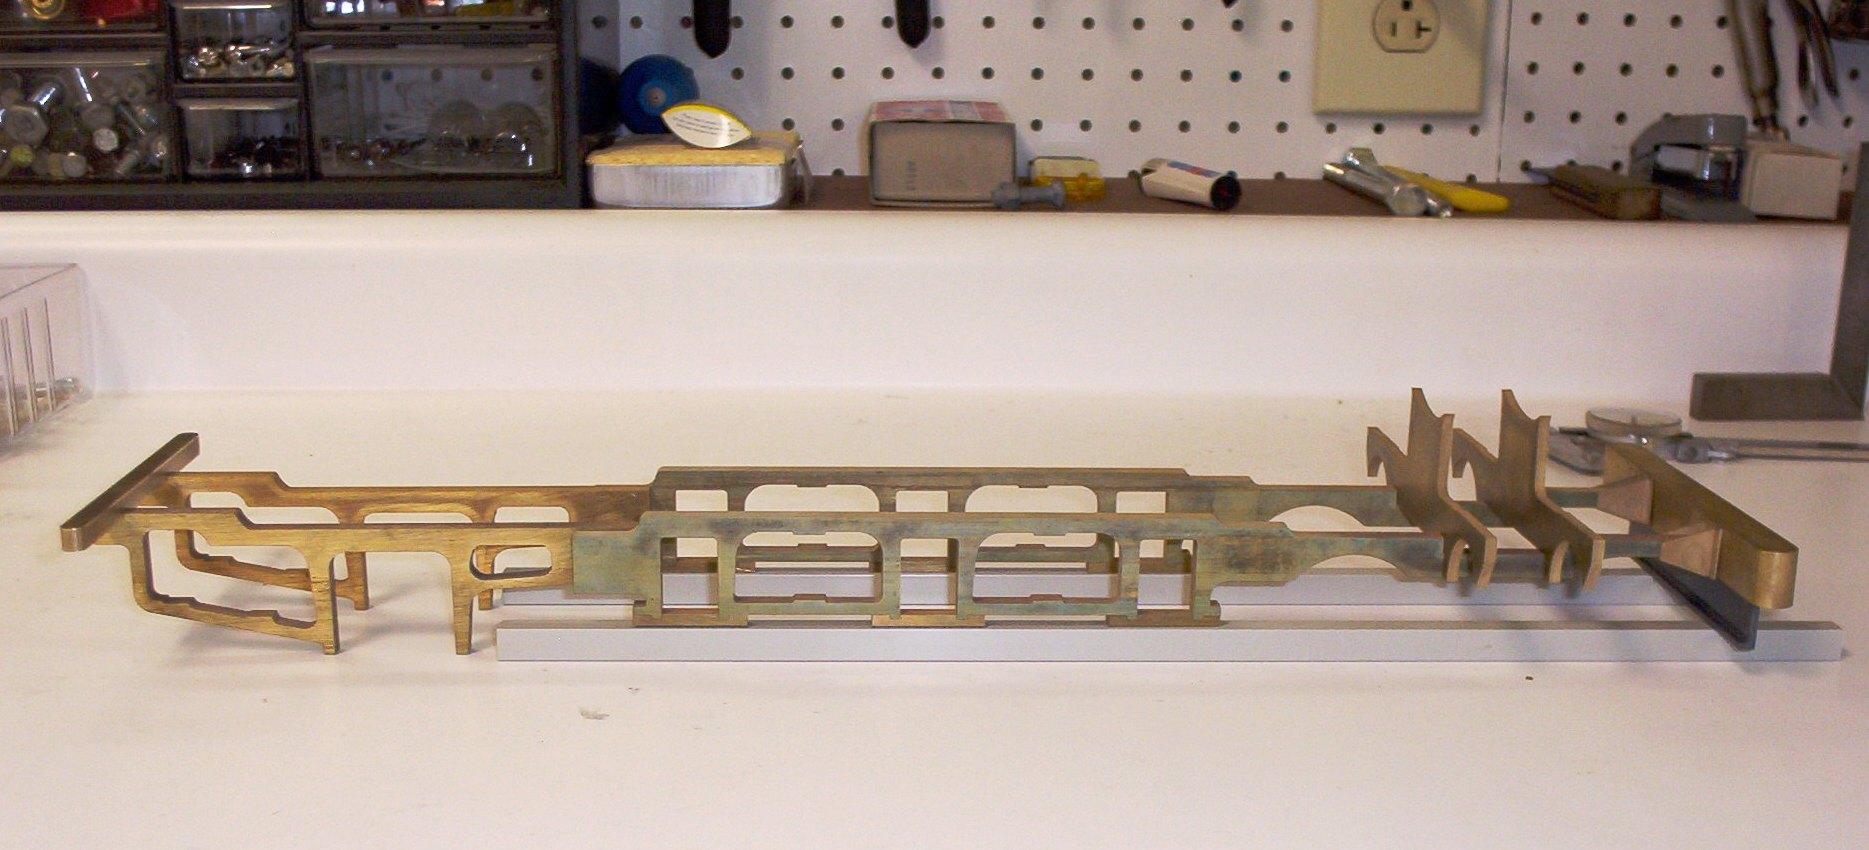
 My initial idea was to CNC mill stainless steel frames from 1/4" thick bar stock--since who
wants a rusty locomotive or one whose chassis will get bent up if ole '97
takes a plunge off some garden railway's high bridge? Anyway,
My initial idea was to CNC mill stainless steel frames from 1/4" thick bar stock--since who
wants a rusty locomotive or one whose chassis will get bent up if ole '97
takes a plunge off some garden railway's high bridge? Anyway,